
A home inspection is often the first step in making significant renovations. Perhaps you’re looking to sell or recently invested in a fix-and-flip. One question remains — what improvement tasks should you prioritize?
Fortunately, logic is on your side. You need to address major structural issues immediately unless you plan to raze the property and start from scratch. Furthermore, residential landlord-tenant laws require you to adhere to building and safety standards before legally leasing the unit. Most of all, you want to protect your safety.
What’s first on your to-do list? Here are six projects you should prioritize after a home inspection.
1. Threats of Collapse
Structural issues are of utmost importance. Crumbling foundations can lead to various problems, increasing flood and fire risk, and eventually rendering the property uninhabitable.
Fortunately, this scary repair might not cost as much as you might fear at first. The national average is $4,500, with prices ranging from $2,000 for minor cracks to $25,000 for major repairs.
Foundation issues often arise when the house settles or the surrounding soil exerts undue pressure. Small cracks may appear, leading to basement flooding. Water inside walls can spark electrical fires, so the problem extends beyond an occasionally damp floor. What will your inspector look for? Here are some common signs of foundation damage they may identify:
- Cracks: Small, vertical cracks smaller than a dime often appear as a home settles and are no cause for concern. However, horizontal or diagonal cracks — and those large enough to insert a quarter — are worrisome.
- Warped siding: If one side of the home sinks more quickly than the other, gaps will appear.
- Unsteady floors: Weak floors can indicate damage to the structural beams, meaning water has seeped beneath.
- Damp crawl space: If your home has a crawl space, it should remain dry. Otherwise, mold and rot may occur.
- Drainage issues: A clogged main line can mean many things — including past residents flushing diapers or wipes — but it could also indicate foundation trouble.
2. Flood Risks
Water is another enemy your home shouldn’t have to battle. Problems with plumbing can cause extensive damage elsewhere, allowing mold to rot walls and flooring, and making the property a health hazard. Damp electrical wires can also spark fires.
Your inspector will test all systems, ensuring there are no clogs. They’ll run each faucet and check under sinks. A leaky one is more than an annoying drip, but replacing it only costs a few hundred dollars — a small price compared to professional mold remediation, which can run into the thousands.
Plumbing problems can stem from unexpected sources. For example, if birds plague your property, they can build nests in the vent trap that prevents pressure from keeping water flowing in the right direction. As a result, poop could erupt from your bathtub and sink — not fun. If you ever wondered why a plumbing inspector needs to look at your roof, now you know.
Problems with leaks inside walls require immediate attention. Remember, water can spark fires. Try to look on the bright side — if you bought a fixer-upper, you might be looking at patching or replacing some drywall, anyway.
3. Fire Hazards
Your home should align with National Electrical Code standards. This entity reviews and updates its regulations every three years to keep consumers safe. When hiring your inspector, check to ensure their certification remains current.
Your inspector will check the following:
- Outlets: They should function without problems, be located within six feet of a doorway and are required on walls wider than 24 inches. All bedroom receptacles must be arc-fault protected.
- GFCIs: The property should have ground-fault circuit interrupters on all outdoor receptacles. They’re also required in garages, bathrooms and kitchens.
- Circuit breakers: Your circuit box contains a mix of 120v and 240v outlets. The smaller voltage runs most appliances, while larger ones like stoves and refrigerators require 240v. Your circuits should operate at 80% capacity at most.
- Wiring: Your inspector will ensure your wiring is current — a concern on some older homes and those built using aluminum instead of copper wire.
- Electrical panel: You should have at least three feet of access space around your panel. Cut down any shrubs or branches grown around it. It should be free of loose wires and fuses.
Your inspector may also look for hardwired smoke and carbon monoxide detectors protected by a battery backup. Each room and floor should have one, excluding bathrooms and kitchens.
4. Inhaled Dangers
Your home’s HVAC system is the next item to tackle. While it rarely presents immediate life-threatening hazards, poor indoor air quality can lead to illness.
Your inspector will test the functionality of your system. However, it’s tougher to judge heating systems in the summer and air conditioners in the winter due to the risk of damage to the system. If possible, schedule your inspection during mild spring or fall weather to allow for a complete investigation.
Your inspector will check the thermostat, furnace ignition, heat pumps and ducts. They’ll also request service records, if available.
Should you have your ducts cleaned? You might if you notice discoloration around the vents or detect a moldy odor. Fortunately, a professional scrub only costs a few hundred dollars — a price most homeowners consider fair for ensuring the air their family breathes is safe.
5. Ease of Accessibility
The next harm to health stems from accessibility and tripping concerns. That loose railing on the back deck could send someone for a nasty fall. So could that loose floorboard if they don’t watch their step.
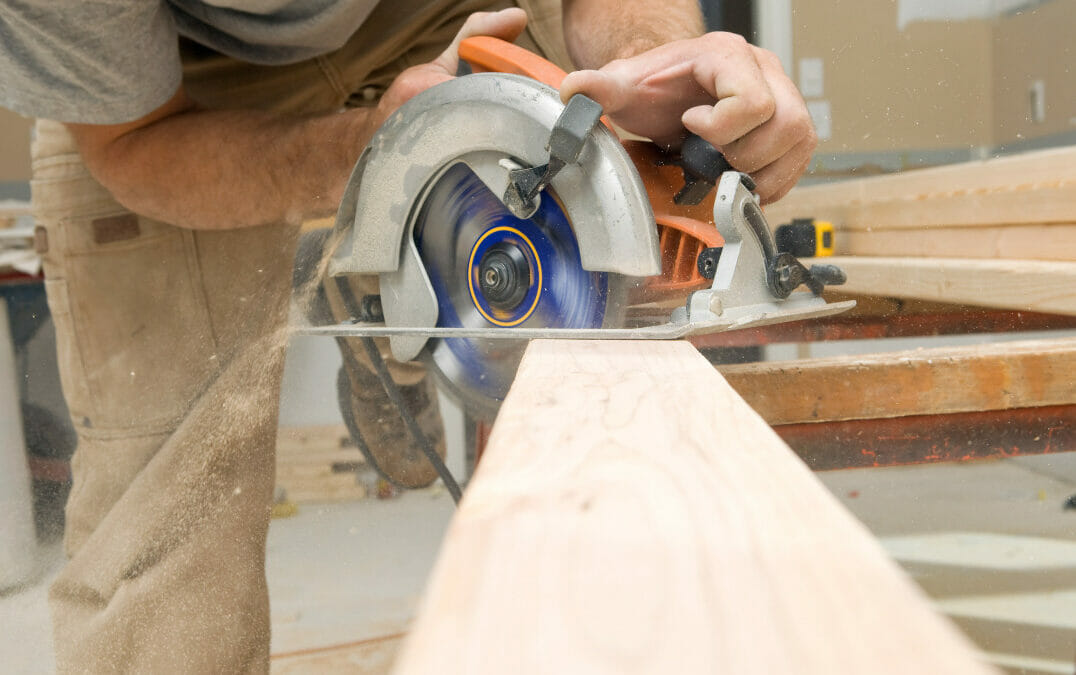
Once you reach this stage on your list of priorities after a home inspection, you might feel comfortable enough to DIY. You can save a tidy sum on labor by laying new flooring yourself — it all depends on how comfortable you are measuring around corners and operating a jigsaw.
If you plan to rent the property, consider adding accessibility features for those with disabilities. For example, grab bars in bathrooms and levers instead of twist-style doorknobs make a huge difference. They’re also features worth highlighting in your marketing efforts.
6. Cosmetic Repairs
Last but not least, tackle those cosmetic repairs. This step entails projects like patching holes in drywall, replacing worn carpeting or slapping a fresh coat of paint on boring beige walls. You might also address your landscaping, although major overhauls like tree removal warrant a call to an expert.
Here’s where you should feel confident putting on your DIY hat. However, there’s nothing wrong with calling the pros if it’s in your budget and spares you unnecessary headaches.
Prioritize These Projects After a Home Inspection
A home inspection is often your first step in fixing up a new property or tackling major renovations on your existing house. Knowing what to fix first saves you time and money.
Prioritize the projects above after a home inspection, using this guide to govern what comes first. Your budget will thank you and you’ll reward yourself with a safer, healthier property.